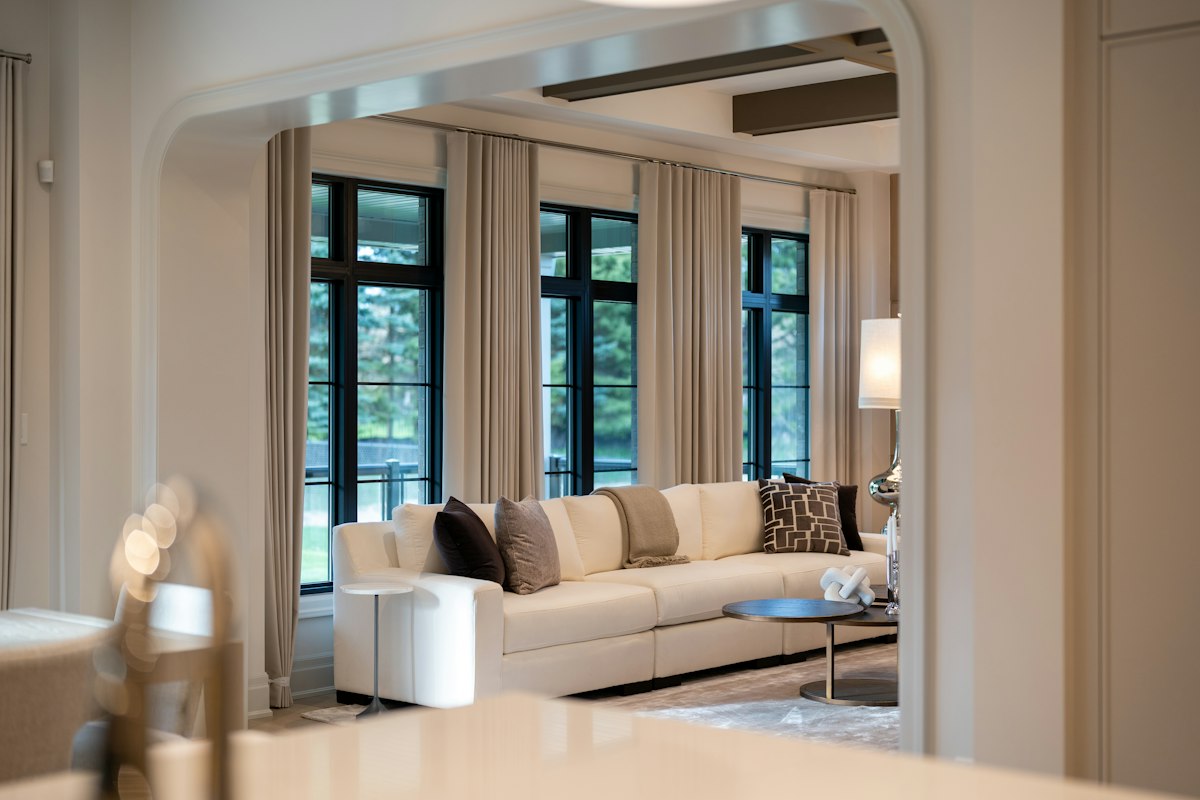
Motorized Smart Blinds Installation: DIY and Professional Options Explained
Upgrading window treatments to motorized smart blinds brings modern convenience, energy efficiency, and sleek aesthetics to your home. With a simple tap on your smartphone or a voice command, motorized shades adjust automatically to reduce direct sunlight glare, protect interior furnishings from UV rays, and maintain indoor temperature balance.
Getting these motorized systems mounted and paired correctly requires thoughtful planning. From measuring window frames down to the millimeter to choosing between battery-operated motors and hardwired power lines, minor setup errors can cause uneven shade movement, motor strain, or connection dropouts.
Related posts
Modernizing Access Management for Rental Properties with Smart Locks
Managing a rental property often feels like a constant battle with logistics, specifically the physical key. Whether it...
Read more →
Smart Home Water Leak Detection Systems: Complete Buyer Comparison and Setup Strategies
Water damage remains one of the most common and expensive claims for property owners. A pinhole leak behind...
Read more →
Hiring Home Automation System Contractors: A Strategic Approach to Smart Living
Building a smart home often begins with a single smart bulb or a voice-controlled speaker. However, as your...
Read more →
Estimating Your ROI: How a Smart Thermostat Energy Savings Calculator Predicts Real Value
High utility bills are a persistent headache for most homeowners, often feeling like an unpredictable tax on your...
Read more →Whether you plan a weekend DIY project or decide to hire a professional installer, knowing the mechanical and technical requirements ensures a seamless project. The following overview covers power supply options, precise mounting steps, smart network pairing, and practical cost expectations for your home project.
Key Takeaways
- Power selection matters: Rechargeable battery motors allow simple DIY mounting, while hardwired setups require electrical wiring but eliminate battery maintenance.
- Precise measuring is essential: Measuring window width at three points prevents shade binding and prevents light leakage.
- Network compatibility drives performance: Match your shade protocols—such as Zigbee, Thread, or Wi-Fi—to your existing smart home hub for reliable automation.
- Professional setup pays off for complex windows: Skylights, multi-story glass, and heavy hardwired installations benefit significantly from experienced technicians.
Selecting the Power System for Motorized Blinds
Before driving screws into your window trim, you must decide how your shades will receive power. The power source determines the complexity of your motorized smart blinds installation and impacts future maintenance.
Rechargeable Battery Motors
Rechargeable lithium-ion battery motors represent the most accessible option for retrofitting existing homes. These units fit directly inside the roller tube or headrail, keeping wires completely hidden. Installation involves securing mounting brackets and snapping the shade into place.
Most modern battery-powered shades require charging once or twice a year using a standard micro-USB or USB-C cable. For windows high off the floor, optional solar panel accessories can trickle-charge the battery continuously using available sunlight.
Hardwired Power Systems
Hardwired installations rely on low-voltage (24V DC) or line-voltage (120V AC) wiring routed through your walls directly to a central power supply box or electrical outlet. This configuration provides permanent power, making it perfect for whole-home automation projects or hard-to-reach tall windows.
Running wires behind drywall usually requires an electrician or specialized low-voltage installer. Hardwired systems are easiest to incorporate during new home construction or major interior remodeling projects.
Mounting Methods and Physical Setup Steps
Correct alignment ensures your smart motor operates smoothly without straining against the brackets. Installing motorized blinds involves clear mechanical steps regardless of the brand.
Inside Mount vs. Outside Mount
An inside mount fits inside the window casing for a clean, built-in appearance. This approach requires at least two to three inches of frame depth so the motor tube and battery casing do not project into the room. Measure the window width at the top, middle, and bottom, using the narrowest measurement to order your shades.
An outside mount attaches to the wall trim or drywall surrounding the window frame. This method works best for shallow window frames or when you want maximum light blockage by extending the shade material past the glass edges.
Securing Brackets and Leveling
Use a quality spirit level or laser level to position your mounting brackets. If your brackets are unlevel by even an eighth of an inch, the fabric will telescope to one side as it rolls up, damaging the fabric edges over time.
Anchor your mounting screws into solid wood studs or window framing whenever possible. When fastening into drywall alone, use heavy-duty wall anchors rated for the combined weight of the shade fabric, heavy roller tube, and motor assembly.
Smart Home Network Integration and Protocol Pairing
Once the physical shade is mounted, your next priority is establishing communication between the blind motor and your smart home ecosystem.
Choosing Communication Protocols
Motorized shades use specific wireless languages to communicate with controllers and automation platforms:
- Wi-Fi: Connects directly to your home router without requiring a bridge. Setup is simple, but high numbers of Wi-Fi shades can clutter your local network.
- Zigbee and Z-Wave: Use low-power mesh networks to link shades through a central hub. These protocols offer high reliability and minimal battery drain.
- Thread / Matter: The newest standard for smart homes, offering fast local responsiveness and cross-platform control across Apple Home, Google Home, and Amazon Alexa.
- Proprietary RF: Uses radio frequencies to talk to a manufacturer-specific bridge, which then relays commands to your home network.
Step-by-Step App Setup
Begin pairing by putting the blind motor into learning mode, typically by holding a button on the motor head until it beeps or flashes an LED indicator. Open your smart home management app, scan the pairing QR code provided on the shade unit, and assign the device to a specific room.
After pairing, calibrate the shade travel limits. This process sets the exact top stopping position and bottom limit so the fabric stops cleanly at the sill without bunching or over-rotating.
Evaluating Costs and Installation Options
Budgeting for a motorized window treatment project involves balancing product prices against labor considerations.
DIY Installation Expenses
If you take the DIY route, your primary costs are the motorized shades themselves, which range from $150 to $600 per window depending on fabric quality, size, and motor technology. Necessary tools include a drill, basic bits, a level, and measuring tape.
Professional Installation Costs
Hiring a technician typically adds $50 to $150 per window in labor fees. Professional help becomes essential when dealing with wide panoramic windows, multi-story foyers, or complex hardwired power supply panel installations.
Experienced installers handle precise measuring guarantees, secure mounting into difficult materials like stone or concrete, and configure complicated multi-shade grouping scenes in your control application.
Frequently Asked Questions
How long does the battery last on wireless smart shades?
Most rechargeable motorized blinds run for 6 to 12 months on a single charge under normal operation, which is defined as one open-and-close cycle per day. Cold weather climates or unusually heavy fabric panels may shorten battery life slightly.
Can existing manual blinds be converted to smart motorized operation?
Certain retrofit kits allow you to add a motor to manual chain-operated roller shades or tilt-rod venetian blinds. However, custom factory-assembled motorized shades generally deliver quieter motor operation and longer mechanical lifespans.
Do smart motorized blinds work if the internet goes down?
Yes. Handheld radio frequency (RF) remotes paired directly to the blind motors will continue to work during internet outages. Local smart routines running through hubs on Thread, Zigbee, or Z-Wave networks also function without an active cloud internet connection.
How long does it take to install one motorized blind?
A standard battery-powered shade takes roughly 20 to 30 minutes for physical mounting and app pairing. Hardwired installations take longer due to wire routing, averaging 1 to 2 hours per window depending on wall accessibility.
What is the difference between side channels and standard mounts?
Side channels are aluminum tracks installed along the inner window jambs that shield the fabric edges. They lock out ambient light for blackout applications in bedrooms and media rooms while keeping the shade stable against draft airflow.
Conclusion
Planning your motorized smart blinds installation carefully ensures quiet operation, precise light control, and dependable smart home automation for years to come. By matching the right power source to your room layout, taking double-checked measurements, and leveling your mounting hardware, you can complete a clean installation that instantly elevates your living environment.